VIMP Administration Panel
This manual gives you an introduction to the administration panel of VIMP and describes all important functions.
Default users
During installation, VIMP creates three default users:
| USERNAME | PASSWORD |
|---|---|
| admin | admin |
| moderator | moderator |
| user | user |
Only the ‘admin’ user has permission to enter the administration panel. Please log in with this user.
Logging in
Enter the administration panel by calling the URL http://www.yourDomain.com/backend.php in your browser (replace www.YourDomain.com with your actual Domain where VIMP has been installed) or by clicking the gearwheel symbol after you logged in via the frontend with an admin user.
Transmission of configuration data
VIMP asks you to agree to the transmission of anonymized configuration data when you enter the admin area. With your consent you help us to develop our product even better for you.
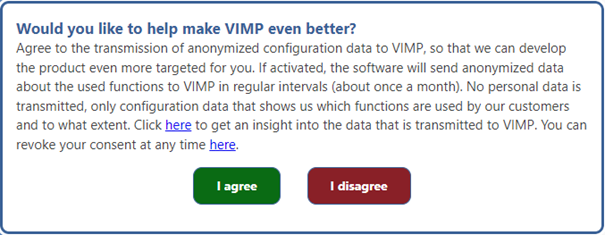
We assure you not to transfer any personal data. You can gain full insight into the data collected via the link contained in the text.
The data allows us to target specific areas in product development depending on usage. The consent to the transfer therefore benefits you directly in the further development of the software.
Activating your VIMP installation (License key)
Your VIMP installation is disabled by default until you enter a valid license key in the admin panel.
After login, click the menu item “configuration” in the upper right corner.
The sub-item “Basic” contains an option “License key”. Enter your license key that you received from your VIMP contact here.
In case you did not receive a license key yet, please contact the VIMP sales team at info@vimp.com.
As soon as the license key has been entered correctly, the software will be activated and can be operated and used as normal.
Changing the default passwords
At first, please change the given default passwords of the above-mentioned users.
Therefore, navigate to the user management by clicking the “Users” link in the left navigation bar. Then click the context menu item „Set user password“ that appears while moving the mouse pointer over the data record.
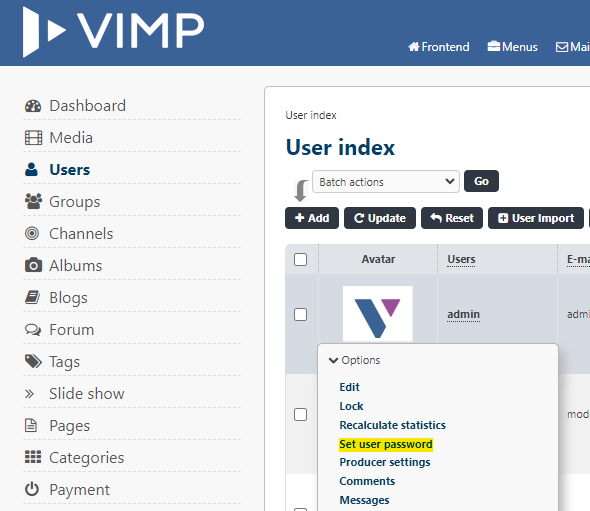
In the next step change the user’s password:
If you don’t need the default users, you can also delete them by click the according link in the context menu.
Important: Never delete the ‘admin‘ user as long as you didn’t create another user with admin permissions. Otherwise, you will not be able to log in to the admin panel anymore!
Entering the Administration panel
The admin panel opens in the following view:
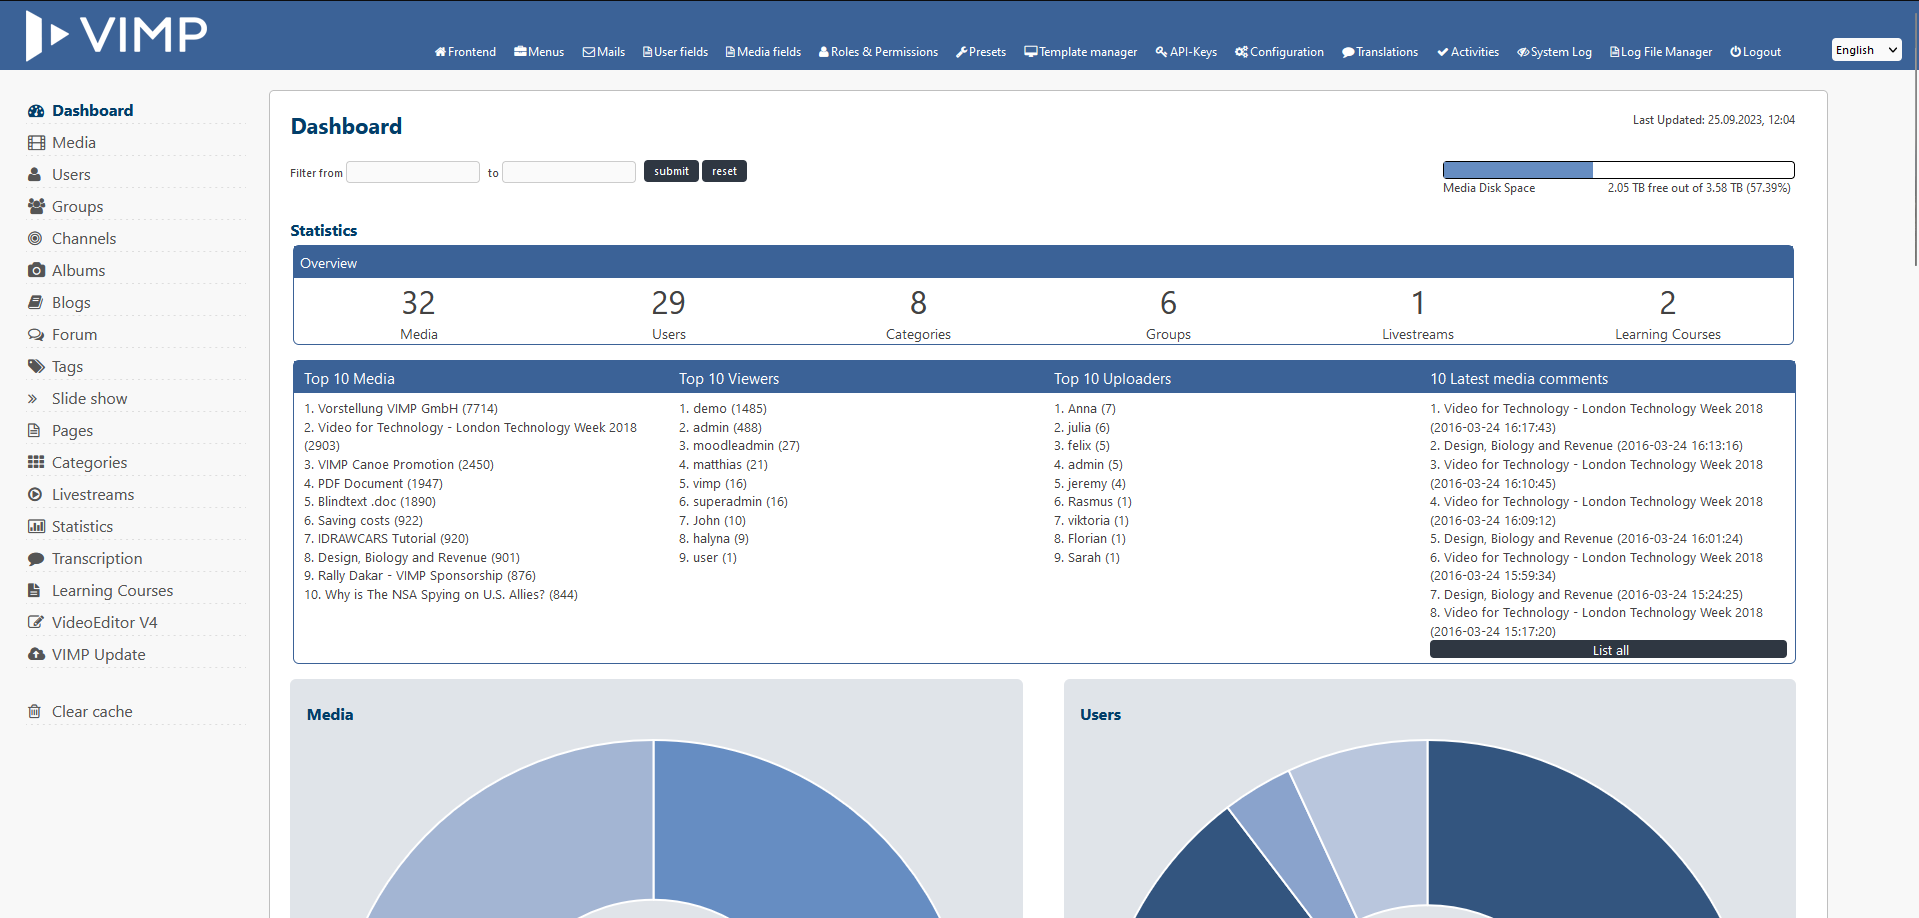
By clicking the VIMP logo you always return to the admin panel main page (Dashboard).
By clicking the “Frontend” link you will be led to the frontend start page.
Besides, in the upper right corner you’ll find links to the global configuration, menu editor, mail templates, custom field configuration, roles & permissions, presets, API keys, translation tool, activities log, system log, logout and language selector.
On smaller screens the menu will be hidden and can be accessed by a click on the so-called hamburger menu item.
Filter options
On the top right corner of each table, several filter options can be set to adjust the current view.
- Search: Find data records by using the search form.
- Items per page: The “items per page” setting limits the displayed results to 10, 25, 50 or 100 shown items.
- Items: “Items” displays the currently shown item number in relation to the number of all items in the filtered or unfiltered selection.
- Pagination: By using the arrows or the page numbers the filtered results can be browsed.
- Sorting: The above image shows two little arrows next to “Created at”. By clicking the headline, the filtered or unfiltered results are sorted ascending or descending alternately.
- Filter box: By clicking the “Filter” link the filter box opens with further filter settings for the current list view.
Configuration Presets
In order to make the initial setup procedure easier you can use the opportunity to choose from different pre-defined presets.
At the first call of your VIMP platform you will be prompted to go to the preset selection:
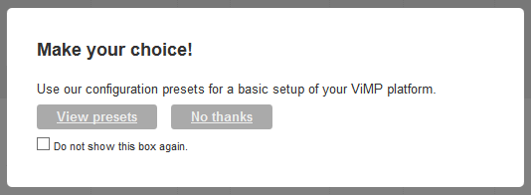
By clicking “View presets“ – or by clicking on Presets in the top navigation at any time – the presets selection opens.
You can choose from different configurations for different platform approaches.
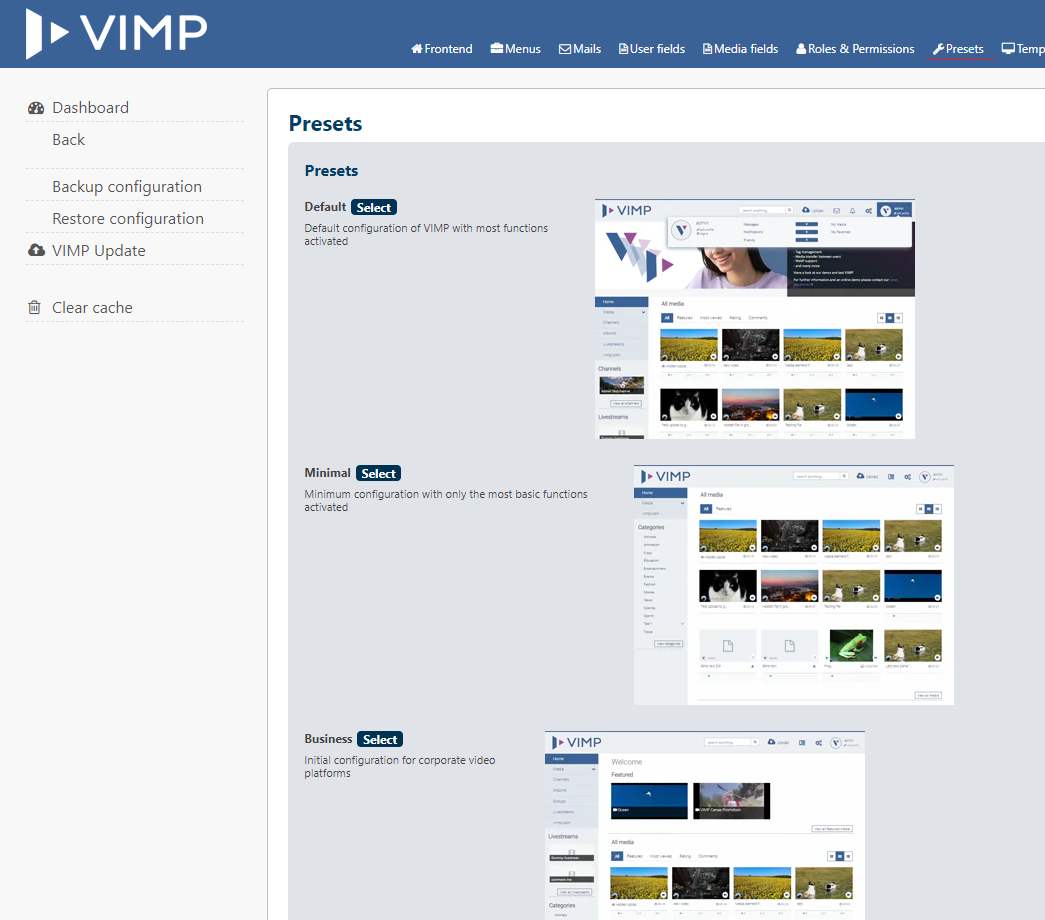
Select the one that fits most to your project in order to build up your platform setup with it.
By selecting a preset your current configuration will be saved automatically. So, you can switch back easily.
In addition, you can save your current configuration at any time manually by clicking the according menu item.
You can download the whole administration guide section as a PDF here: