Creating a new album
Just like a WebTV playlist, a new album can be created by every registered user of your VIMP portal and can be shared with friends or other users. To create a new album, access the album module from the homepage navigation and click the button "Create album". After entering a title, a description and defining the visibility of the album, the basic information for the album can be saved by clicking the “Save” button.
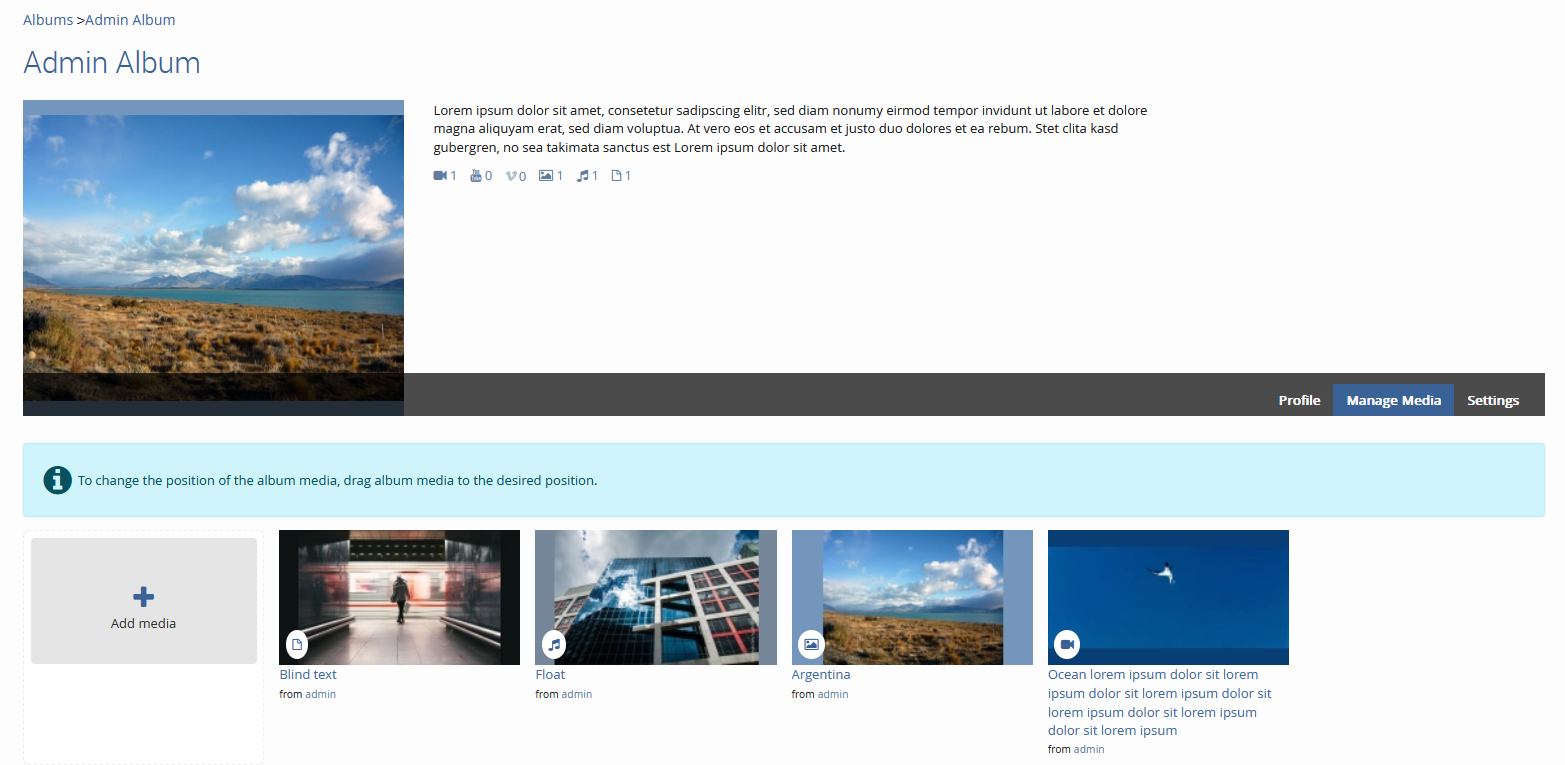
Once you saved the basic information, you can start adding media to the album by selecting the “Manage Media” tab within the album and clicking the “Add media” button:

A new window with all available media that has been uploaded from your account will open immediately. You now have two possibilities to add media to your album, appearing by dragging the mouse cursor over the individual medium. The first way is to add a single medium one by one clicking the “+” icon within the thumbnail. The second possibility is to mark several media and add them to the album at one go. Therefore, just check the checkboxes of all desired media thumbnails and add the selection by clicking “Add media”. Now, as you added some content to your album, it will be visible to all users that have access to your album. Of course, you can add new media to your album or remove existing media from it at all times to keep your album up to date.